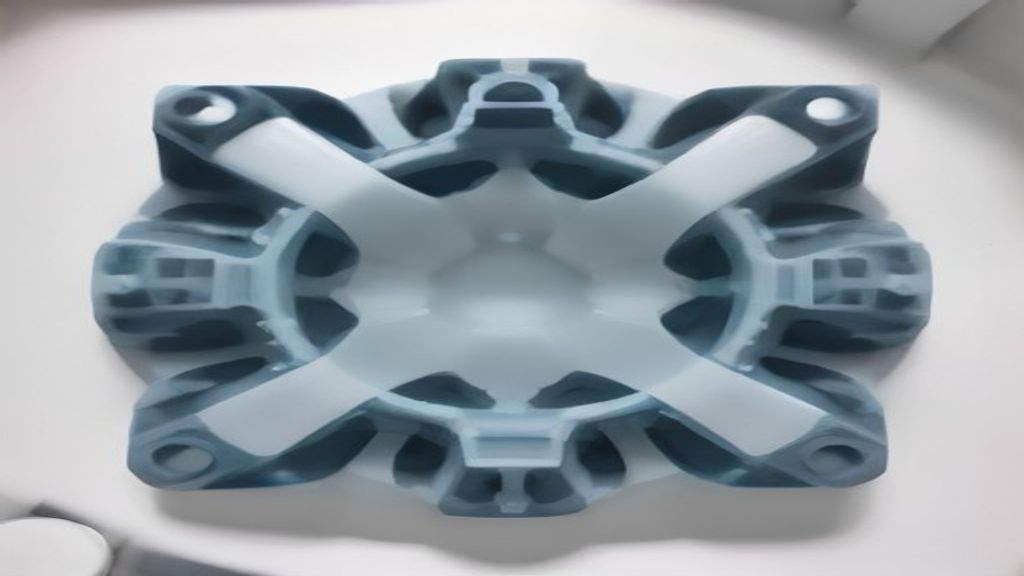
Introduction to How To Choose The Right Molds For Plastic Injection
The plastic injection molding industry is undergoing a massive transformation. By 2026, manufacturers are no longer simply looking for a supplier who can cut a cavity—they are looking for strategic partners who can deliver precision, speed, and cost-effectiveness from prototype to mass production. At the heart of this partnership lies a critical decision: How To Choose The Right Molds For Plastic Injection.
Choosing the wrong mold can lead to catastrophic production delays, skyrocketing tooling costs, and inconsistent part quality. Conversely, selecting the right mold—whether it is a high-cavitation production tool or a rapid prototype—can dramatically reduce your time-to-market and maximize your return on investment. According to industry analysts, tooling decisions account for nearly 30% of a product’s total manufacturing cost, making this choice one of the most financially significant steps in the product lifecycle.
Modern market trends in 2026 are heavily influenced by the need for lightweight materials, complex geometries, and shorter product lifecycles. This means manufacturers must balance the initial cost of tooling against long-term durability and cycle time efficiency. As a leading provider of high-precision manufacturing solutions, COMEKIN optimizes this strategy by offering end-to-end support, from prototype parts validation to full-scale production with durable plastic injection molds. Understanding the nuances of this selection process is no longer optional—it is the cornerstone of competitive manufacturing.
Core Benefits & Strategic Importance
Driving Targeted Audience Engagement
When you understand How To Choose The Right Molds For Plastic Injection, you inherently improve communication across your entire supply chain. Engineering teams can specify exact steel hardness, cooling channel layouts, and ejection mechanisms. Procurement teams can accurately benchmark pricing. Customers receive parts that meet exact dimensional tolerances.
This clarity drives targeted audience engagement because it positions your brand as technically competent. When you work with a partner like COMEKIN, you gain access to specialists who help you match your product requirements to the correct mold base type. For instance, selecting the right metal mold bases ensures structural rigidity and reduces deflection during high-pressure injection, which directly translates into fewer scrap parts and higher customer satisfaction.
Maximizing ROI and Conversion Efficiency
The financial impact of mold selection extends far beyond the initial purchase price. A well-designed mold with optimized cooling channels can reduce cycle times by 20% to 40%. For high-volume production runs, this equates to massive savings in energy and labor costs.
The strategic importance of mold selection also affects conversion efficiency in your sales funnel. When a client requests a quote, your ability to recommend the most cost-effective tooling solution—rather than the most expensive one—builds trust and increases conversion rates. COMEKIN’s expertise in CNC machining tooling allows for the production of complex mold geometries with exceptional surface finishes, ensuring that your upfront investment pays dividends over the lifespan of the tool.
Avoiding Common Pitfalls and Mistakes
One of the most common mistakes in mold selection is prioritizing upfront cost over lifecycle value. A cheaply manufactured mold made from pre-hardened steel may fail after only 10,000 cycles, whereas a properly hardened tool can produce millions of parts. Other pitfalls include:
- Ignoring cooling line design: Poor cooling leads to uneven shrinkage and warping.
- Overlooking gate location: The gate determines how plastic flows, impacting appearance and structural integrity.
- Choosing the wrong steel type: Corrosive plastics require stainless steel or specialized coatings.
- Failing to plan for maintenance: Even the best molds require preventative maintenance; forgetting this shortens tool life dramatically.
Step-by-Step Implementation Guide
Initial Audit and Foundational Setup
Step 1: Define Your Production Volume and Material
Before you even speak to a mold maker, you must define the expected lifetime volume of your part. This determines the mold’s construction.
- Low volume (1,000 – 10,000 parts): Consider using prototype parts or aluminum molds. These are cost-effective and quick to produce.
- Medium volume (10,000 – 100,000 parts): Use pre-hardened steel (P20 or 718H). This balances durability with machinability.
- High volume (100,000+ parts): Requires hardened tool steel (H13 or S136) with advanced surface treatments to withstand wear.
Your material choice matters equally. Glass-filled nylon is abrasive; PVC is corrosive. Both require specific steel grades to prevent premature tool failure.
Step 2: Analyze Part Geometry for Draft and Undercuts
Complex geometries with sharp corners and deep ribs require specialized machining strategies. During the audit phase, evaluate your part for:
- Draft angles: Typically 1 to 2 degrees per side to allow for easy ejection.
- Undercuts: These require side-actions or lifters, which increase mold complexity and cost. If possible, redesign the part to eliminate them.
- Wall thickness: Maintain uniform thickness to prevent sink marks and internal voids.
If your geometry is highly complex, a partner like COMEKIN can leverage advanced CNC machining tooling to produce highly detailed cavities that maintain tight tolerances without compromising tool strength.
Executing High-Impact Action Items
Step 3: Select The Right Mold Base
The mold base provides the structural framework for your entire tool. A standard mold base includes the clamping plate, cavity plates, ejector housings, and support pillars. While standard bases are available off-the-shelf, custom applications often require tailored solutions.
- Standard bases: Best for simple, single-cavity operations. They are cost-effective and have shorter lead times.
- Custom bases: Necessary for multi-cavity tools, high-speed injection, or insert molding. These provide superior alignment and longevity.
When reviewing suppliers, ask about their hardware molds capabilities. A reliable supplier will offer a range of standard and custom hardware solutions, ensuring that your mold base is robust enough to handle the clamping forces without excessive wear.
Step 4: Design Cooling and Ejection Systems
Efficient cooling is the most significant factor in reducing cycle time. Traditional straight-line cooling channels often fail to cool complex geometries uniformly. In 2026, conformal cooling—where channels follow the contour of the part—is becoming the industry standard. These channels are created using advanced multi-axis machining or additive manufacturing, resulting in faster cooling and flatter parts.
The ejection system also requires careful consideration. Standard ejector pins are sufficient for most parts. However, for parts with deep internal ribs or textured surfaces, a stripper plate or air ejection system may be required to prevent damage during ejection.
Step 5: Partner with a One-Stop Manufacturing Provider
One of the most effective ways to de-risk your mold selection is to partner with a company that offers integrated manufacturing services. This is where COMEKIN excels. By combining plastic injection molds with in-house CNC machining tooling and finishing services, COMEKIN ensures seamless communication between design and production. You do not have to worry about tolerance mismatches between your mold maker and your machinist—everything is handled under one roof.
Moreover, COMEKIN’s experience across diverse industries—including automotive, medical, and consumer electronics—allows them to anticipate potential manufacturing issues before they become costly problems. Their engineers can recommend design modifications that improve moldability, reducing the overall tooling cost without sacrificing part quality. For clients in the early stages of product development, starting with prototype parts allows for real-world testing before committing to the final production tool, a strategy that avoids costly redesigns later.
Measuring Performance and Scaling Results
Step 6: Track Key Performance Indicators (KPIs)
Once your mold is in production, establish a measurement framework to gauge its performance. Crucial KPIs include:
- Cycle time: The total time required to produce one shot. Higher efficiency translates directly to lower unit costs.
- Part yield rate: The percentage of good parts produced per run. A high scrap rate indicates a mold design issue.
- Tool maintenance frequency: How often the mold needs to be pulled out of the press for service.
- Overall Equipment Effectiveness (OEE): A composite metric of availability, performance, and quality.
Tracking these metrics will help you identify when a mold has reached the end of its useful life and when it should be replaced or refurbished.
Step 7: Scale for Production Growth
If your product line expands, you may need to increase output. There are two primary ways to scale:
- Platen Conversion: Moving the mold to a larger injection molding machine to increase shot size.
- Multi-Cavity Expansion: Creating an additional mold or converting a single-cavity tool into a family mold that produces multiple different parts in one cycle.
Before scaling, consult with your mold maker to ensure your existing tool design, such as the metal mold bases, can support the additional stress of higher injection pressures and faster cycle times. Upgrading to a mold with more robust steel or better cooling capabilities may be necessary to maintain consistent part quality at higher output volumes.
Conclusion & Key Takeaways
Choosing the right mold is a multifaceted decision that impacts cost, quality, and time-to-market. Here is a summary of the essential insights from this guide:
- Evaluate Total Cost of Ownership: Never purchase a mold based solely on the purchase price. Consider the durability, cycle time, and maintenance requirements over the expected production lifespan.
- Match Mold Construction to Volume: Aluminum tooling for low-volume pre-production runs, pre-hardened steel for mid-range volumes, and hardened tool steel for high-volume commercial production.
- Design for Manufacturability (DFM): Simplify geometries where possible, add adequate draft angles, and consult with engineers early to avoid undercuts and uneven wall thicknesses.
- Prioritize Cooling Design: The efficiency of your cooling system is directly proportional to your profitability.
- Use Trusted Partners: Work with manufacturers like COMEKIN who can provide integrated solutions, from hardware molds to complete plastic injection molds, alongside expert CNC machining tooling.
Actionable Next Steps for Long-Term Success
Whether you are a startup launching your first product or a seasoned manufacturer optimizing an existing line, the next step is to conduct a thorough feasibility study. Start by creating a detailed specification sheet for your part, including annual volume projections, material selection, and cosmetic requirements.
Then, reach out to a manufacturing partner with a proven track record in mold design and production. If you are still in the design phase and need to test form, fit, and function, consider producing prototype parts first. This allows you to verify your assumptions and refine your design before committing to the high expense of a production-grade mold.
The landscape of plastic injection molding is evolving rapidly, but the core principles of careful planning and robust tooling design remain timeless. By mastering How To Choose The Right Molds For Plastic Injection, you ensure that your manufacturing operations are efficient, your products are reliable, and your business is well-positioned for success throughout 2026 and beyond.