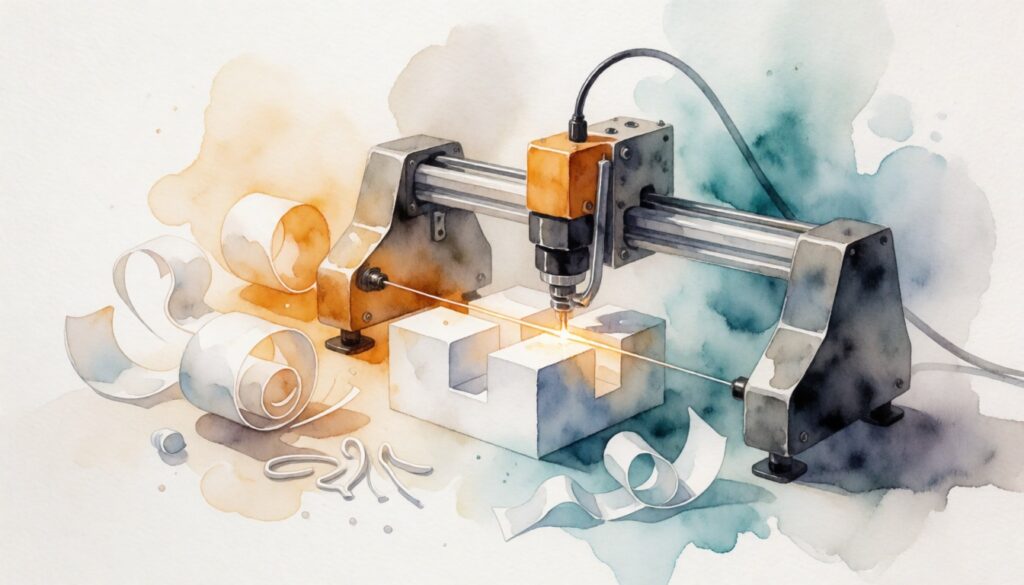
Introduction to Cutting Foam With a Hot Wire: The Complete Guide To Hot Wire Foam Cutters and Techniques
Cutting Foam with a Hot Wire: The Complete Guide to Hot Wire Foam Cutters and Techniques is one of those skills that quietly powers a surprising amount of modern manufacturing, architecture, packaging, and product development. Unlike a blade, which tears and compresses foam cells, a heated resistance wire melts a clean path through expanded polystyrene (EPS), extruded polystyrene (XPS), and certain polyethylene foams — leaving a sealed, dust-free edge that holds its shape and needs almost no finishing.
That combination of speed, accuracy, and cleanliness is why hot wire cutting has moved out of hobby workshops and into professional workflows: architectural massing models, protective packaging inserts, theatrical props, composite cores, lost-foam casting patterns, and quick volumetric prototypes all depend on it.
Why Hot Wire Foam Cutting Matters for Modern Growth
Product teams are under constant pressure to shorten the distance between a CAD file and something a stakeholder can hold. Hot wire cutting compresses that distance dramatically:
- Speed: A shaped foam blank that once took an hour of knife work and sanding can be cut in minutes.
- Repeatability: Templates, fences, and CNC-driven hot wire tables produce identical parts run after run.
- Cost efficiency: Foam is inexpensive, and a single taut wire replaces a long list of blades and abrasives.
- Cleanliness: There is no dust plume, which matters in clean rooms, model shops, and on-site installations.
- Design freedom: Tapered wings, compound curves, and beveled transitions are achievable with a bow cutter and a steady hand.
Key Market Trends and Foundational Concepts
Several trends are reshaping how professionals approach foam cutting in 2026:
- Digital-to-physical workflows. Designers now export directly from CAD into 4-axis CNC hot wire tables, cutting wings, fuselage sections, and architectural forms from parametric models.
- Dust-free fabrication mandates. Shops increasingly prefer thermal cutting over mechanical cutting to reduce airborne particulate and cleanup time.
- Material diversification. Beyond white EPS bead foam, teams now cut high-density XPS, EPP, and specialty insulation boards, each requiring different temperature and feed settings.
- Hybrid tooling. Foam masters are frequently used as patterns for casting, which connects foam cutting directly to downstream mold and tooling work.
Before you buy or build anything, internalize the five variables that control every hot wire cut:
- Wire gauge and alloy. Nichrome (typically 20–30 gauge) is the standard because it resists oxidation and holds tension at temperature.
- Temperature. Too cool and the wire drags and tears; too hot and it over-melts, creating a wide kerf and stringy residue.
- Feed rate. The wire should glide, not push. Consistent hand or motor speed matters more than raw speed.
- Tension. Slack wire bows in the middle of a cut, producing barrel-shaped parts. Tension is the single most overlooked quality factor.
- Kerf. The wire removes material, so every cut is wider than the wire itself. Precision work requires kerf compensation in your templates or toolpaths.
How COMEKIN Optimizes This Strategy
Foam is rarely the end of the story. A foam model validates form and fit, but production requires tooling. COMEKIN supports that transition by supplying the manufacturing infrastructure that comes after the foam prototype is approved — from prototype parts for functional validation to CNC machining tooling for trimming and fixture work, hardware molds for repeatable housings, plastic injection molds for volume production, and metal mold bases that keep those tools stable under pressure. In other words, the hot wire cut validates the concept; COMEKIN helps industrialize it.
Core Benefits & Strategic Importance
Driving Targeted Audience Engagement
A physical foam model changes the conversation. Clients, executives, and design review boards understand volume, proportion, and ergonomics in a way that renders rarely achieve. A 1:1 foam mockup of a control panel, a helmet shell, or a retail display lets stakeholders react with their hands, not just their eyes — surfacing objections early, when changes are still cheap. For architectural and exhibit work, foam massing models communicate scale and shadow to non-technical audiences far more effectively than drawings.
Maximizing ROI and Conversion Efficiency
Hot wire cutting delivers measurable financial returns across the development cycle:
- Lower material waste. Accurate templates mean fewer scrapped blanks and less re-cutting.
- Reduced labor hours. Thermal cutting and finishing are far faster than knife-and-sand workflows.
- Faster design iterations. When a revision takes twenty minutes instead of a day, teams iterate more and ship better designs.
- Fewer downstream surprises. Foam mockups catch interference and assembly problems before steel is cut for molds.
- Better margin control. Predictable cut quality means predictable labor estimates on quoting.
Avoiding Common Pitfalls and Mistakes
Most hot wire failures trace back to a short list of avoidable errors:
- Running the wire too hot. A glowing wire is too hot. It widens the kerf, leaves a hard melted ridge, and snaps under thermal stress. Aim for a wire that cuts with light pressure and produces faint wisps of vapor, not smoke.
- Insufficient tension. Wire sag creates concave or barrel-shaped cuts that no amount of sanding fixes.
- Inconsistent feed rate. Stopping mid-cut leaves a visible melt divot. Keep continuous motion and pause only at exits.
- Skipping kerf compensation. Cutting directly on a template line produces parts that are undersized by half the kerf on every edge.
- Poor ventilation. Melting foam releases styrene vapor. Always cut in a ventilated space with appropriate respiratory protection.
- Cutting the wrong material. Polyurethane foam and PVC release genuinely hazardous fumes when heated. Hot wire is for polystyrene-family foams unless you have verified otherwise.
- Undersized power supply. A transformer that cannot sustain current under load causes temperature to sag mid-cut, producing wavy edges.
- Dull or oxidized wire. Replace nichrome before it becomes pitted; a rough wire drags and tears.
Step-by-Step Implementation Guide
Initial Audit and Foundational Setup
Before setting up a workstation, define the job requirements precisely.
1. Characterize your material. Identify foam type, density (typically 1–3 lb/ft³ for EPS, higher for XPS), and thickness. Higher density needs more heat and slower feed.
2. Select the cutter format. Choose among a handheld bow (great for freehand and bevel work), a table-mounted cutter with a fence and guide (best for straight, repeatable cuts), or a CNC hot wire table (essential for compound and multi-axis geometry).
3. Build the power and control system. Use a variable transformer or dedicated hot wire power supply with adjustable output. Route the wire through a tension spring on the bow arm so thermal expansion stays compensated.
4. Establish ventilation and safety. Position the cutter near an exhaust or open, cross-ventilated space. Keep a dry-chemical extinguisher nearby, never leave a powered wire unattended, and treat the wire as a burn hazard even after power-down.
5. Set up measurement and templates. Produce hardboard, MDF, or acrylic templates from your CAD drawings. Offset every template edge outward by half the wire kerf for dimensionally accurate parts.
If you want a deeper reference on tool selection and wire setup, the Hot Wire for Cutting Foam: The Complete COMEKIN Guide covers equipment configurations in detail.
Executing High-Impact Action Items
With the bench ready, focus on technique — this is where cut quality is won or lost.
- Straight cuts. Use a metal fence clamped parallel to the wire path. Feed the block at a steady rate and let the wire do the work; pushing creates deflection and taper.
- Template and pattern cutting. Pin or clamp the template to the foam face, then run the wire along the template edge with the hot side oriented away from the guide.
- Bevels and tapers. Tilt the bow or tilt the workpiece against a wedged fence. For matched bevels, cut both halves against the same angle reference.
- Compound and wing cuts. On a two-axis table, synchronize the X and Y axes so the wire pivots around a virtual axis. On 4-axis machines, plan the cut order to avoid re-entering a finished surface.
- Freehand sculpting. Rough out with a hot knife or bow at higher temperature, then refine at lower temperature. Lower heat plus slower feed gives better surface control.
- Kerf verification. Cut a test block, measure the gap, and adjust your template offsets. Do this at the start of every production batch.
- Finishing. Lightly sand with 220–320 grit to knock down melt ridges, seal with a water-based primer or spackle for painting, and bond sections with polyurethane or solvent-free foam adhesive. Avoid solvent adhesives that attack polystyrene.
Measuring Performance and Scaling Results
Treat foam cutting like any other production process and instrument it.
Track these metrics:
- Dimensional accuracy: measured against drawing tolerances on a sample part from each batch.
- Kerf consistency: variation indicates temperature drift or wire wear.
- Scrap rate: rising scrap usually signals a template error or a sagging wire.
- Cycle time per part: the core driver of labor cost.
- Wire life: log hours or linear feet cut per wire change.
- Surface finish rating: simple visual standard (as-cut, sanded, sealed).
Scale intelligently:
- Standardize temperature and feed settings per material into a written shop reference.
- Build dedicated jigs and fences for repeated geometry rather than re-measuring each time.
- Move high-volume or high-complexity work to a CNC hot wire table and reserve manual bows for one-offs.
- Train operators on kerf compensation and template handling before they touch production work.
- Once the foam form is validated, transition to durable tooling. COMEKIN’s prototype parts bridge the gap between foam mockup and functional sample, while plastic injection molds, hardware molds, metal mold bases, and CNC machining tooling carry the program into production with the same geometry you proved in foam.
Conclusion & Key Takeaways
Hot wire foam cutting is a mature technique with outsized leverage: it turns design intent into physical form quickly, cleanly, and at low cost, and it does so with a toolset that ranges from a hand bow to a fully automated multi-axis table.
Essential insights to carry forward:
- Temperature, tension, and feed rate are the three variables that determine cut quality — master them before buying more equipment.
- Kerf compensation is not optional in precision work; build offsets into every template.
- Ventilation and material verification protect your team; only polystyrene-family foams belong on a hot wire.
- Consistent technique beats expensive equipment — a well-tensioned bow in trained hands outperforms a poorly tuned machine.
- Foam validates; tooling delivers. Plan the handoff from foam model to production tooling early.
Your next steps: audit your current foam cutting setup against the checklist above, run a kerf test on your most-used foam, document standard settings for each material, and identify the first part that should move to a CNC hot wire path. Then map the route from validated foam prototype to production tooling — that is where COMEKIN’s engineering and manufacturing support turns a good cut into a shippable product.