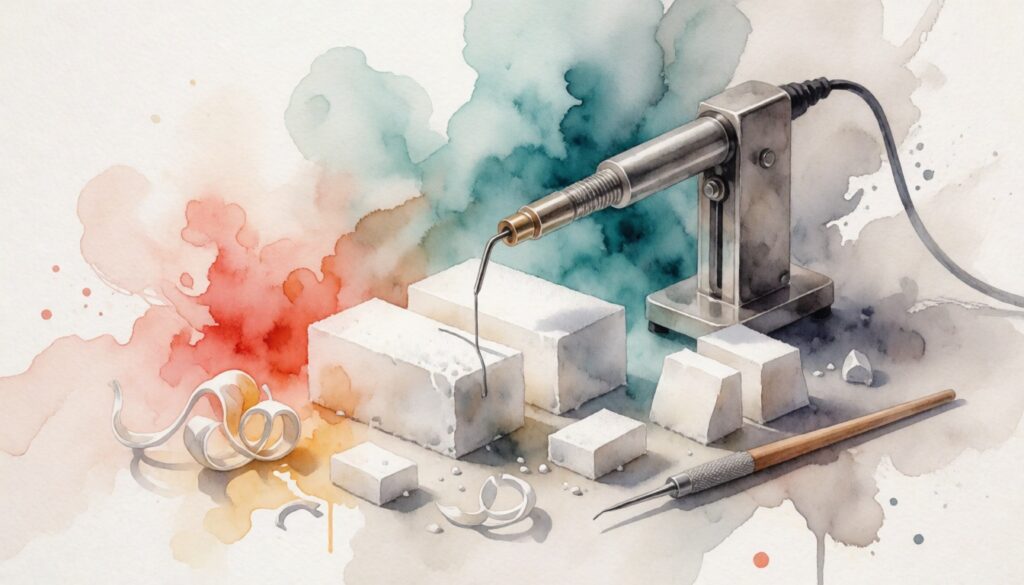
Introduction to The Ultimate Guide to Cutting Foam With Hot Wire in 2026
Foam is one of the most forgiving materials in any workshop — until you try to cut it. A saw tears it, a blade drags and compresses it, and a router throws dust into every corner of the shop. Hot wire cutting solves all three problems at once by melting a clean, narrow path through expanded polystyrene (EPS), extruded polystyrene (XPS), expanded polypropylene (EPP), and many flexible polyurethane foams. The result is a sealed edge, a repeatable profile, and virtually no airborne debris.
This Ultimate Guide to Cutting Foam With Hot Wire in 2026 is written for fabricators, product designers, packaging engineers, architects, mold makers, and hobbyists who want predictable results instead of trial-and-error burns. Whether you are trimming a single prototype block or setting up a repeatable production cell, the principles in this guide apply.
Why This Matters for Modern Growth
Iteration speed is the competitive advantage of the decade. Teams that can move from a sketch to a physical model in a single afternoon win more design reviews, catch ergonomic problems earlier, and spend less on downstream tooling. Hot wire foam cutting compresses that loop dramatically: the equipment is inexpensive, the learning curve is short, and the material is cheap enough that a failed attempt costs pennies rather than hundreds of dollars.
For manufacturers, foam is also the bridge between concept and hard tooling. Foam patterns feed into casting, composite layups, vacuum forming, and large-scale mockups that validate a design long before a steel cavity is machined.
Key Market Trends and Foundational Concepts
Three trends define 2026:
- Desktop and benchtop CNC hot wire cutters. Four-axis and five-axis wire cutters have dropped in price, letting small shops produce tapered wings, airfoils, and complex tapers that used to require a custom machine.
- Digital templating. Design files now drive cutting directly, so a CAD revision becomes a cut part in minutes instead of a re-drawn pencil template.
- Dust-free, recyclable workflows. Because hot wire cutting melts rather than abrades, there is no foam dust to manage — a meaningful advantage for shops with strict air-quality policies.
The foundational concepts you need to master are fewer than most people expect:
- Foam type and density. Higher density means more thermal mass and slower feed rates.
- Wire diameter and alloy. Thinner wire cuts a tighter kerf but is more fragile. The right choice is covered in detail in this guide to hot wire foam cutting wire.
- Temperature versus feed rate. These two variables must be balanced. Too hot and slow produces a wide, melted kerf; too cool and fast produces drag marks and wire wander.
- Kerf compensation. The melt path is always wider than the wire, and that offset must be built into your template or toolpath.
- Ventilation. Melting foam releases fumes. Even in a small shop, cross-ventilation or local exhaust is non-negotiable.
How COMEKIN Optimizes This Strategy
COMEKIN approaches foam cutting as one link in a longer manufacturing chain rather than an isolated craft. Foam patterns validated on a hot wire table become the reference geometry for hardware molds, plastic injection molds, and metal mold bases — which means every improvement in your foam workflow pays dividends later in the project. Where a design must be proven in a production-grade material before committing to tooling, prototype parts and CNC machining tooling close the gap between the foam mockup and the final component.
Core Benefits & Strategic Importance
Driving Targeted Audience Engagement
A hot wire cut reads as quality. Sealed edges, consistent wall thickness, and crisp silhouettes photograph well, present well, and survive handling in a trade show booth or a client review. When a foam model looks deliberate instead of improvised, stakeholders engage with the design rather than the flaws. That shift in attention — from "what is this made of" to "how does this work" — is exactly what a prototype is supposed to accomplish.
Maximizing ROI and Conversion Efficiency
The economics of hot wire cutting are unusually favorable:
- Low capital outlay. A reliable benchtop cutter costs a fraction of a CNC router.
- Cheap consumables. Wire is the primary wear item, and it is inexpensive.
- Fast setup. No clamps, no dust collection, no tool changes.
- High material yield. Narrow kerfs waste less foam, and offcuts can often be reused for smaller parts.
Combine those factors and the cost per iteration drops far enough that teams stop rationing prototypes. More physical iterations almost always means fewer expensive surprises later.
Avoiding Common Pitfalls and Mistakes
Most disappointing cuts trace back to a handful of avoidable errors:
- Cutting too fast. The wire cannot melt the foam ahead of it, so it bows and produces a curved or waisted face.
- Cutting too hot. The kerf widens, edges glaze and re-fuse, and dimensional accuracy collapses.
- Insufficient wire tension. Slack wire wanders, especially on tall cuts.
- No kerf compensation. Parts come out undersized because the template ignored melt width.
- Ignoring foam type. XPS and EPS behave differently at the same setting; so do recycled and virgin stocks.
- Poor ventilation. Fumes accumulate faster than most people expect in a closed garage or small shop.
The companion piece on hot wire for cutting foam walks through these failure modes in greater depth, and the complete guide to hot wire foam cutters and techniques covers machine selection for different shop sizes.
Step-by-Step Implementation Guide
Initial Audit and Foundational Setup
Before making a single cut, audit the workspace:
- Airflow. Set up near a window, a shop fan moving air out, or a local exhaust hood.
- Surface. A fire-resistant, non-melting bench surface. Never cut over paper, cloth, or sawdust.
- Power. A stable supply with a variable controller — a dimmer-style router speed control or a dedicated benchtop power supply.
- Wire and frame. Match wire gauge to the depth of cut you expect. Tension the wire so it rings lightly when plucked.
- Templates. Cut guides from rigid material, then offset every edge by the measured kerf width.
- Test coupons. Keep a stack of scrap in each foam type you use. Every session begins with a test cut.
A simple reference table helps calibrate new stock:
| Foam | Typical Behavior | Practical Adjustment |
|—|—|—|
| EPS (bead foam) | Melts quickly, beads can pull | Slightly lower heat, steady moderate feed |
| XPS (extruded) | Denser, cleaner melt | Medium heat, slower feed on thick sections |
| EPP | Resilient, resists melting | Higher heat, accept a wider kerf |
| Flexible PU | Tends to smolder | Lowest effective heat, fast pass, strong ventilation |
Executing High-Impact Action Items
With the workspace ready, focus your effort on the techniques that produce the biggest quality jump:
- Run a test coupon first. Two minutes of calibration saves an hour of rework.
- Use a single, steady pass. Consistent feed rate matters more than raw speed. Think of it as drawing a line, not pushing a wire.
- Guide with templates on both faces. For tall cuts, a template top and bottom keeps the wire from drifting.
- Cut thick stock in stages. Two passes from opposite sides, aligned to the same template, beat one slow heavy pass.
- Let the wire do the work. If you feel resistance, increase heat slightly or slow down — never force the wire.
- Deburr nothing. A properly cut edge needs no cleanup; if it does, the settings were off.
- Label and store templates. Repeatability is a stored asset, not a memory.
Measuring Performance and Scaling Results
Once the process is stable, measure it so you can scale it:
- Kerf width. Measure the slot on a scrap block with calipers and update template offsets.
- Squareness and taper. Check a cut block against a machinist square. Taper indicates low heat or high feed.
- Surface finish. Glossy, sealed faces indicate the wire was too hot; fibrous drag marks indicate too cold.
- Repeatability. Cut the same part five times and measure. Variation above your tolerance means the setup, not the operator, needs attention.
When volume increases, move the same geometry to a CNC hot wire table, then graduate successful designs into production tooling. This is the point where a foam workflow becomes a manufacturing strategy: the validated shape moves into hardware molds or plastic injection molds, while tight-tolerance features get CNC machining tooling support. Teams that need a bridge between foam and final tooling typically request prototype parts to confirm fit and function first.
Conclusion & Key Takeaways
Hot wire foam cutting rewards preparation far more than raw skill. The shops that get consistently clean results are not using exotic equipment — they are controlling five variables: foam type, wire gauge and tension, temperature, feed rate, and kerf compensation. Everything else is refinement.
The essentials to carry forward:
- Test-cut every new foam stock before touching a finished part.
- Balance heat and feed rate; never compensate for a cold wire by pushing harder.
- Build kerf offset into templates, not into your hands.
- Ventilate the workspace every single session.
- Treat foam as the first step in a manufacturing chain, not a disposable draft.
Your next three steps: audit your cutting station for airflow, wire tension, and fire safety; cut a calibration coupon in each foam type you stock and record the settings; then choose one design currently stuck on paper and turn it into a physical model this week.
Done well, foam is the fastest, cheapest, and most honest design tool in the shop. Master the wire, and the rest of the workflow — from pattern to mold to production part — gets measurably easier.